

How to record a voice-over — step by step
In short: A professional voice-over recording requires a finished script, a chosen voice, a directed session in an acoustically controlled booth, and editing and processing. A good microphone and an experienced engineer are key — home conditions rarely give a broadcast-ready result.
A well-recorded voice-over sounds natural and clear, and builds trust in a brand. A bad one distracts, hisses and undermines the credibility of the whole piece. Below we show step by step what a professional voice-over recording looks like and what to take care of so the result is ready to publish.
Step 1: Prepare the script
Everything starts with the text. The script should be in its final version — revisions after recording mean additional sessions. Take care of:
- natural spoken language — texts written “to be read” often sound stiff out loud,
- the pronunciation of difficult names — mark emphases, foreign words and abbreviations,
- context and tone — describe whether the message should be energetic, calm, expert,
- timing — if the recording is to match a video, give the length or time markers.
Step 2: Choose the right voice
The voice is the character of the brand. One voice-over artist suits a dynamic advertisement, another the calm narration of a documentary or audiobook. It is worth listening to samples and choosing a timbre and style that match the message. As part of voice and voice-over recording we also select the voice for the language — we handle PL, FR, EN and ES.
Step 3: The recording session in the studio
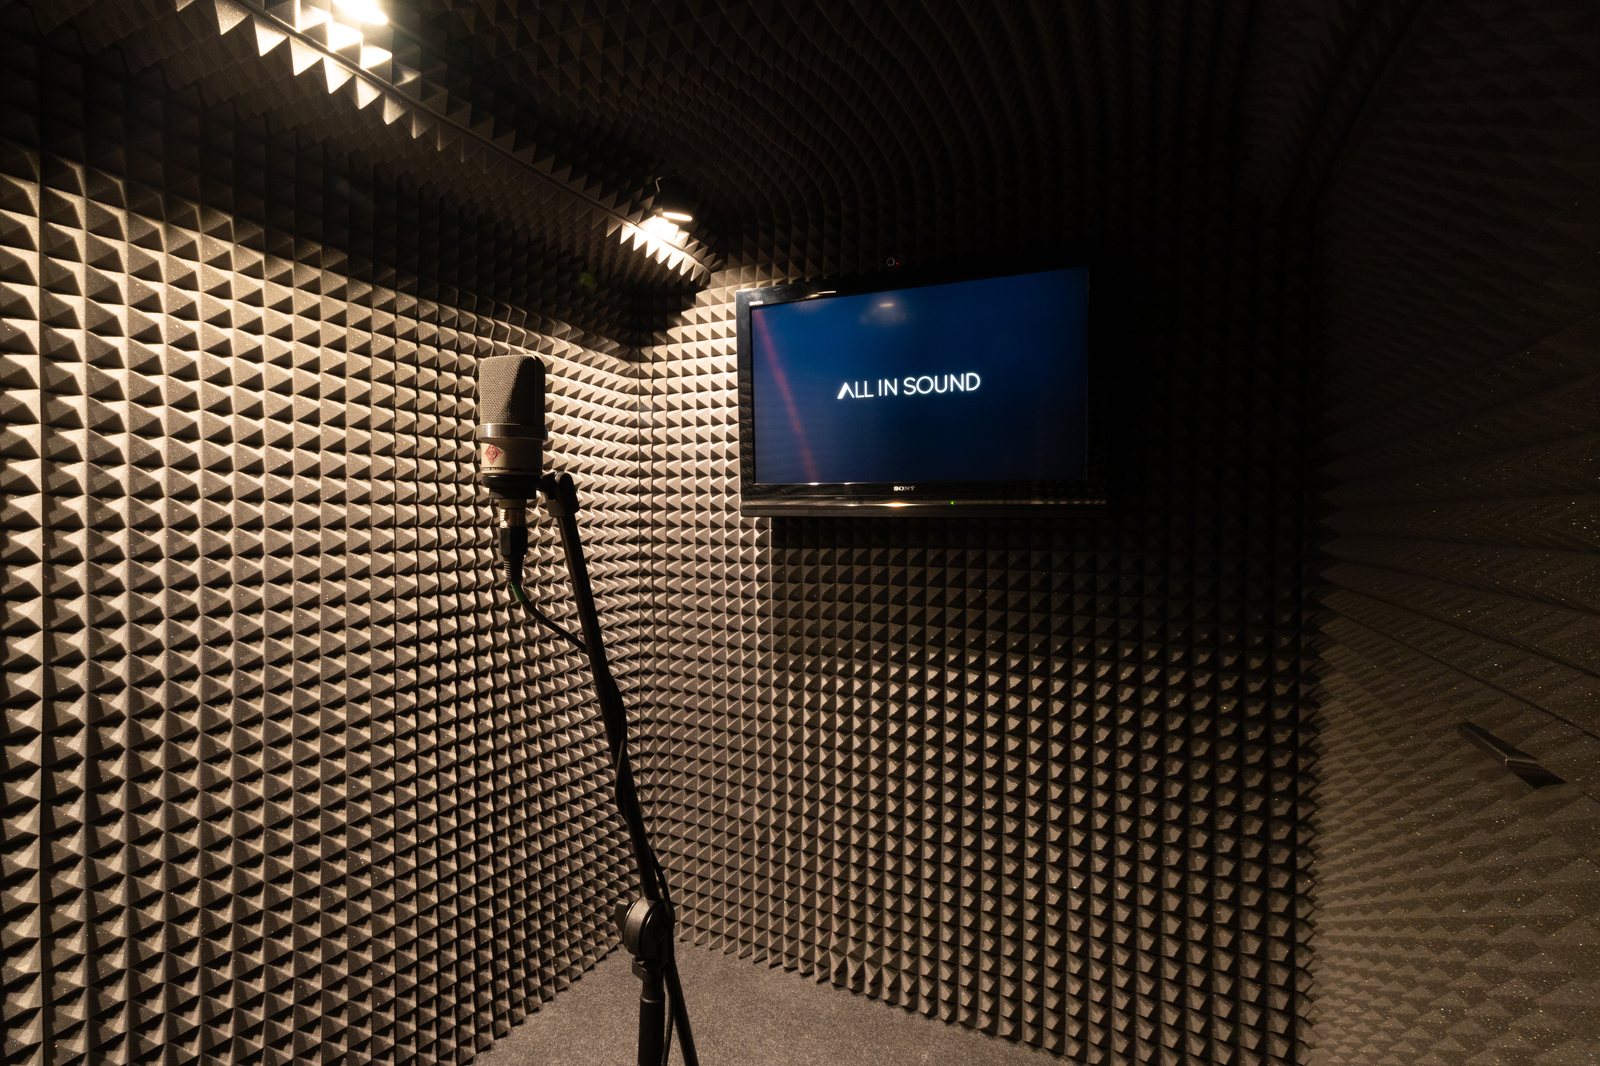
This is the heart of the whole process. A professional recording requires an acoustically controlled booth that eliminates reverb and ambient noise. At All In Sound we record on a Neumann TLM 102 microphone, monitor the sound on Eve Audio and Genelec, and capture the material in Pro Tools Ultimate.
During the session the engineer takes on the role of director: watching the pace, the emphases and the interpretation, recording several takes and selecting the best versions. It is precisely this direction that distinguishes a professional recording from an amateur reading of a text.
Step 4: Editing and processing
A raw recording is not yet the end. At this stage we:
- select and splice the best fragments,
- remove breaths, slips of the tongue and noise,
- level out the volumes and the timbre,
- synchronize the voice with the picture if needed.
If the voice-over goes into video material, we combine it with the mix of the whole soundtrack, so the narration sits well among the music and effects.
Step 5: Final files and approval
Finally we export the recording in the format required by the target platform and hand it over for approval. Any minor revisions we make before final delivery.
Studio recording vs recording at home
The growing popularity of home studios tempts people to record a voice-over themselves. In practice, though, home conditions bring several hard-to-avoid problems. The first is acoustics: an ordinary room reflects sound, so the recording sounds “boxy” and loses its professional character. The second is background noise — a fridge, a computer, the street outside — which gets onto the track and is very hard to remove without degrading the voice. The third is equipment: the difference between a studio-grade microphone and a cheap model is audible immediately. Finally, there is no director listening from the outside and watching the interpretation. A studio solves all these issues at once, which is why material intended for broadcast is almost always made under controlled conditions.
What to avoid when recording a voice-over
- Recording at home without acoustic treatment — reverb and background noise are audible and hard to remove.
- A poor microphone — cheap equipment colours the voice and raises the noise level.
- Lack of direction — without someone listening from the outside, monotony and interpretation errors creep in easily.
- An unfinished script — changes after the session generate costs and delays.
How to prepare for the session — practical tips
A few small things on your side make the session run smoothly and improve the result:
- Read the text aloud before recording — you’ll catch sentences that sound wrong when spoken.
- Gather reference material — an example of a tone or pace you like makes direction easier.
- Prepare a list of difficult names — with a phonetic note for proper names, brands and abbreviations.
- Designate one decision-maker — if several people approve the material, agreeing on a position in advance saves time and extra sessions.
How much does it cost?
The cost depends on the length of the text, the intended use and the scope of the licence. We describe the details and rough ranges in the article on how much a voice-over recording costs . Prices are approximate — we quote every project individually.
Summary
A professional voice-over recording is a process: from a finished script, through the choice of voice and a directed session, to editing and final files. Each of these steps shapes whether the message sounds credible and broadcast-ready.
Planning a recording? Check out voice and voice-over recording or get in touch , and we’ll help you choose a voice and plan the session.
Frequently asked questions
How do I record a voice-over so it sounds professional?
The key is a directed booth with controlled acoustics, a good microphone and an experienced engineer. A professional voice-over recording includes a prepared script, the choice of the right voice, direction of the session, and sound editing and processing. A recording made at home rarely meets broadcast standards.
Do I have to be present at the voice-over recording?
You don’t have to, but you can. Many clients take part in the session remotely or on site, to approve the interpretation as it happens. If you don’t have time, a detailed brief is enough — we will make the recording and send it for approval.
How long does a voice-over recording take?
A short spot can be recorded in a dozen or so minutes, but the session also includes takes, direction and selecting the best versions. Longer formats, like e-learning or an audiobook, require correspondingly more time. On top of that comes editing and processing.
How do I prepare a script for a voice-over recording?
The script should be ready in its final version, with emphases and the pronunciation of difficult names marked. It is worth giving the context and the desired tone of delivery. If the recording is to match a video, time markers or the picture edit itself are useful.
Can I record a voice-over in several languages?
Yes. At All In Sound we record voice and voice-over in Polish, French, English and Spanish, which lets us prepare coherent language versions of a single piece of material in one studio.
Do I need my own script to record a voice-over?
It is best to have a finished script in its final version, but it doesn’t have to be perfect. We will help polish the text so it reads well aloud and point out passages worth changing before the session. A ready script shortens the recording time and limits the number of extra sessions.
Which microphone works best for a voice-over recording?
A studio condenser microphone in an acoustically controlled booth works best for voice-over. At All In Sound we record on a Neumann TLM 102, which faithfully reproduces the tone of the voice and handles both narration and energetic delivery. The microphone alone isn’t everything, though — room acoustics and direction matter just as much.